This tutorial is in two parts: 1) general tips 2) step by step instructions
PART 1 - GENERAL TIPS
- setup your cutting mat, ruler, cutter, iron surface and board within reach of the machine to save you getting up and down
- use an open toe foot for a clear view of lines
- set your stitch length to 1.5
- use pins
- use cream or light grey thread both top and bobbin
- guesstimate the strip size, add an inch then trim before you sew (its easier)
- line up fabric first to ensure it covers the pattern with seam allowance
- pin vertical to the seam, and use multiple pins for longer strips
- start and finish one or two stitches either side of the line
- check tension is correct after first stitched line by pulling back on the fabric - if bobbin thread pops through easily, adjust accordingly
- don't throw away any scraps
- try to avoid unpicking - that 1.5 stitch length is unfriendly
- if you do need to unpick, do it from the fabric side
- folding gets easier, as you find its already creased once you've done the first one or two rounds
- for the outside strips, check they go past the edge of the paper, not just the outside seam line
PART 2 - INSTRUCTIONS
Requirements:

- foundation template (I have written the colour guideline onto the template for you)
- several 2" strips of fabric in various shades/patterns of cream
- several 2" strips of fabric in red, brown, blue, green (see foundation template for your block colours)
- 3" red square for centre
- 4, 7" x 3.5" squares (or 6" square cut on the diagonal) one for each colour nominated on your foundation template

Step 1

- Place the red square in the centre of the unprinted side of the foundation template (for this piece only, the fabric is face up)
- hold it up to the light to ensure it extends beyond the square by at least 1/4"
- pin in place
- With paper printed side up, fold the paper back on the lines and trim the seam to 1/4"


-----------------------------------------------------------------------------------------------------------
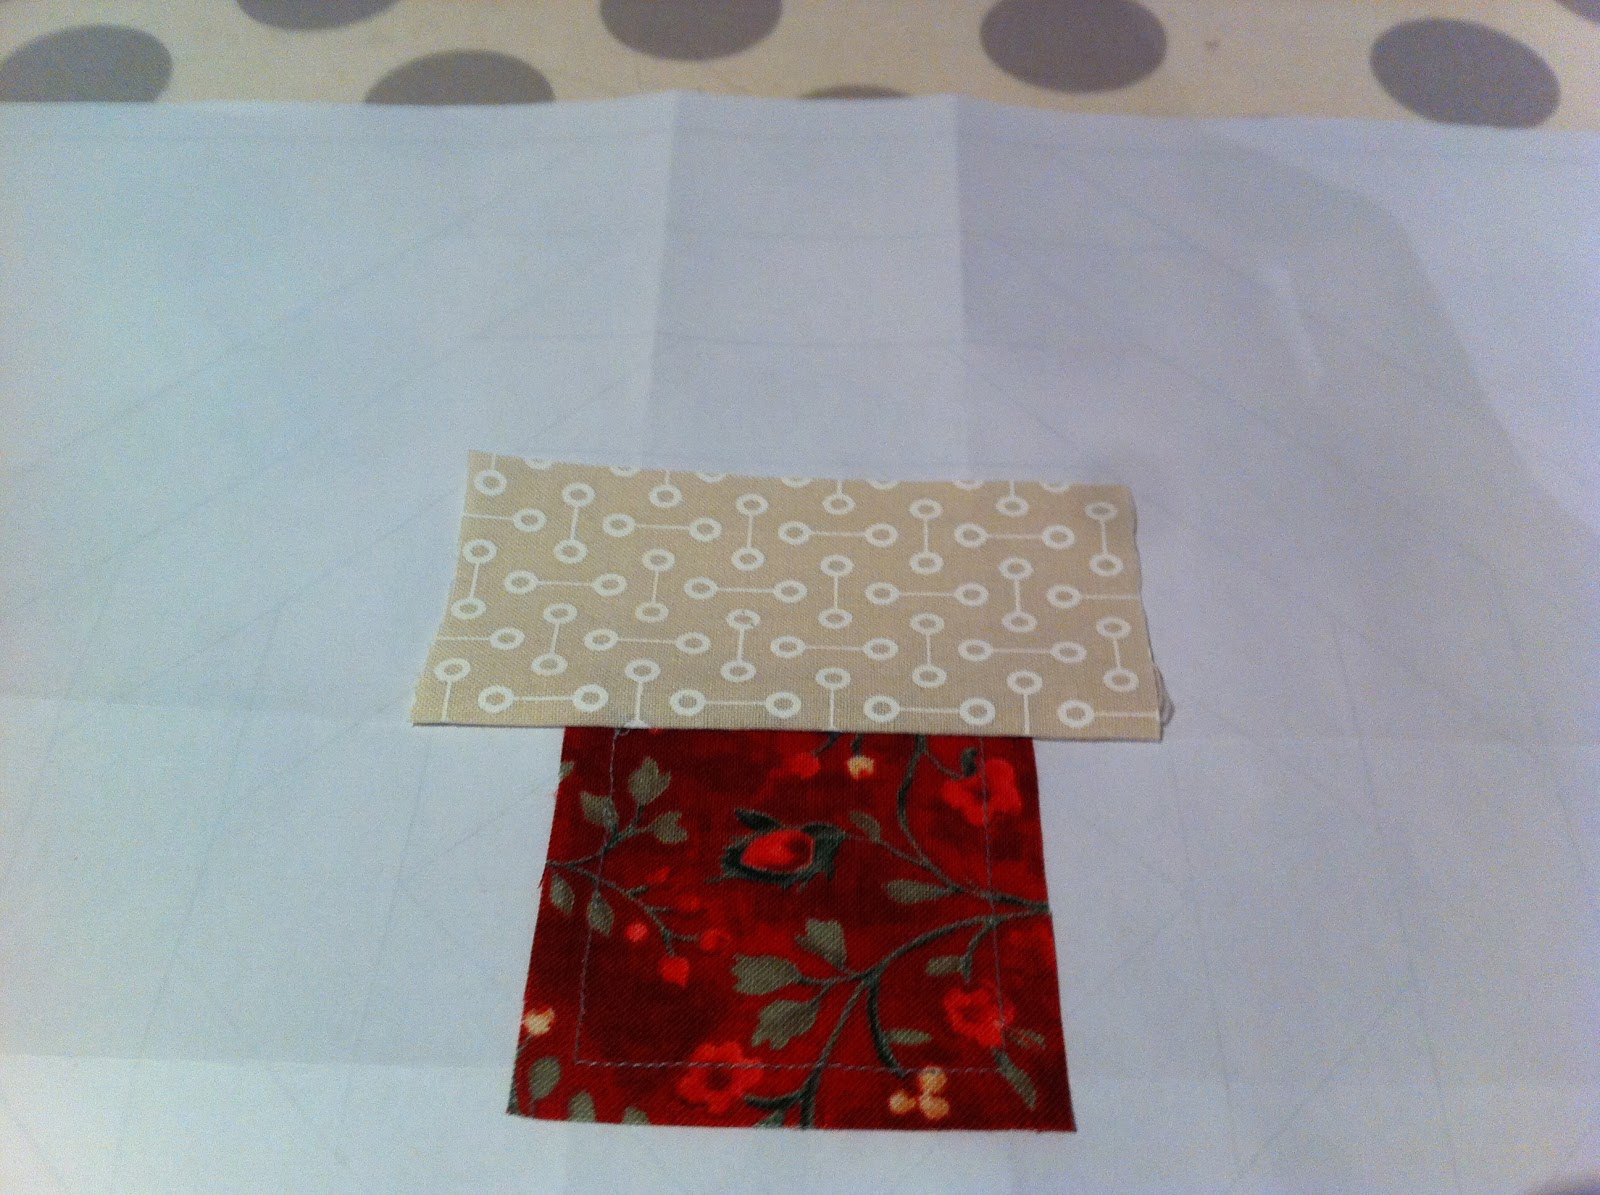
Step 2
- With fabric side up, lay a short cream strip face down along one edge of the red square (so fabrics are right side together)
- Pin in place
- Stitch along the line
- Press fabric open


- With paper printed side up, fold the paper back along the outside of the triangle line, trim seam to 1/4"
- Repeat for opposite side


- Continue for all four sides of red square

-----------------------------------------------------------------------------------------------------------
Step 4
- With fabric side up, lay a colour strip (check foundation template for right colour)
- Pin in place
- Stitch along the line (make sure you are exactly on the line, especially over the point in the centre)
- Press fabric open


- With paper printed side up, fold the paper back along the outside of the angled line, trim seam to 1/4"
- Repeat for opposite angled line
- Repeat for top of strip


-----------------------------------------------------------------------------------------------------------
Step 5
- Continue Step 4 alternating between light/cream and colour strips


-----------------------------------------------------------------------------------------------------------
Step 6
- When finished, stitch around the outside of the block, just outside of the border line of the block, using a stitch length of 3
- Trim fabric to exact paper size (DO NOT cut any paper off)
- Leave paper on
- Finished!


-----------------------------------------------------------------------------------------------------------
No comments:
Post a Comment